
As more businesses shift towards digital platforms, our online presence and activities have become vital to our daily work routines. And with the ever-increasing rise in cybercrime, it's no surprise that businesses are more worried than ever about protecting their data from scams and online threats.
It's critical to take every precaution to safeguard your personal and professional information, and practicing safe internet browsing habits is a perfect place to start. 😊
This article will arm you with the top ten best practices for beefing up your browsing security and safeguarding your business and personal information from those pesky cybercriminals.
So, get ready to level-up your online protection and keep those cyber villains at bay!
If you’d like to learn more about how Ntiva can help keep your business safe, secure and productive, book a consultation today.
Table Of Contents
- Best Practice #1: Keep Your Web Browser Up to Date
- Best Practice #2: Opt for Robust Privacy and Security Settings on Your Web Browser
- Best Practice #3: Stop Visiting Websites Without HTTPS!
- Best Practice #4: Downloading Files and Applications? Be Careful!
- Best Practice #5: Get Into The Habit of Clearing Browser Cookies
- Best Practice #6: Block Those Ads Whenever You Can!
- Best Practice #7: Disable The Password-Saving Feature In Your Browser
- Best Practice #8: Why Not Give Privacy-Focused Search Engines a Try?
- Best Practice #9: Lock It Up: Fortify Your Passwords and Activate Two-Factor Authentication (2FA)
- Best Practice #10: Why Not Give a VPN a Whirl?
- Go Forth, And Stay Safe!

Best Practice #1: Keep Your Web Browser Up to Date
Keeping your web browser up to date is crucial for maintaining security. Browser updates often include patches for security vulnerabilities, ensuring you have the latest security measures. Here is how to update the most common web browsers:
-
Google Chrome: Click on the three-dot menu in the top-right corner, go to "Help," and select "About Google Chrome." Chrome will automatically check for updates and install them if available.
-
Mozilla Firefox: Click on the three-line menu in the top-right corner, go to "Help," and select "About Firefox." Firefox will automatically check for updates and install them if available.
-
Apple Safari: Click on the Apple menu in the top-left corner, select "System Preferences," and click on "Software Update." Install any available updates for Safari.
-
Microsoft Edge: Click on the three-dot menu in the top-right corner, go to "Help and feedback," and select "About Microsoft Edge." Edge will automatically check for updates and install them if available.
Related Reading: Zero Trust Security: What is It and Who Needs It?
Best Practice #2: Opt for Robust Privacy and Security Settings on Your Web Browser
Take a few minutes to review and choose the privacy and security settings that are right for you. Most browsers offer various options that allow you to control how websites track your activities and handle your personal information. Here's how to configure your privacy and security settings depending on the browser you are using:
-
Google Chrome: Click on the three-dot menu in the top-right corner, go to "Settings," scroll down, and click "Privacy and Security." Adjust settings such as "Cookies," "Permissions," and "Security" according to your preferences.
-
Mozilla Firefox: Click on the three-line menu in the top-right corner, go to "Options," and select "Privacy & Security" from the left sidebar. Customize settings such as "Cookies and Site Data," "Permissions," and "Enhanced Tracking Protection."
-
Apple Safari: Click on the Safari menu in the top-left corner, select "Preferences," and go to the "Privacy" tab. Choose your preferences for "Cookies and Website Data," "Camera," "Microphone," and other privacy-related settings.
-
Microsoft Edge: Click on the three-dot menu in the top-right corner, go to "Settings," then "Privacy, search, and Services." Customize settings such as "Cookies and site permissions," "Tracking Prevention," and "Passwords."
PRO TIP: Remember to be cautious when installing plugins and browser extensions, as they could compromise your browsing security. Only download and install plugins from trusted sources and regularly review and remove any plugins that you no longer use.
.png?width=1200&height=627&name=https%20(1).png)
Best Practice #3: Stay Away from Websites without HTTPS!
When browsing the internet, pay attention to websites that use HTTPS (Hypertext Transfer Protocol Secure) instead of HTTP. HTTPS encrypts the data you send and receive, adding an extra layer of security. Avoid visiting websites that are still using the less secure HTTP protocol, especially when submitting personal information. Here's how to check if a website uses HTTPS:
-
Look for a padlock icon in the address bar of your browser, usually on the left side.
-
Check the URL (web address) of the website. Secure websites start with "https://" instead of "http://."
If a website uses HTTP instead of HTTPS, consider finding an alternative source or contact the website owners to express concerns about their lack of security.
Best Practice #4: Downloading Files and Applications? Be Careful!
Downloading files or applications from untrusted sources can introduce malware or viruses to your device. Only download files from reputable websites and developers; always use reputable antivirus software to scan downloaded files. Here are three important tips to ensure safe downloads:
-
Download files only from trusted sources, such as official websites or reputable app stores.
-
Before downloading, check the file's reputation by conducting a quick online search or reading user reviews.
-
Keep your antivirus software up to date and perform regular scans on downloaded files.
Remember...if you receive an unexpected email attachment or an unfamiliar download prompt on a website, exercise caution and avoid downloading the file unless you are confident about its authenticity.
Best Practice #5: Get Into The Habit of Clearing Browser Cookies
Browser cookies can track your online activities and collect personal information. Regularly clearing your browser cookies helps protect your privacy and reduces the chances of being targeted with personalized advertisements. Here's how to clear cookies in the most-used browsers:
Google Chrome: Click on the three-dot menu in the top-right corner, go to "More tools," and select "Clear browsing data." Check the box next to "Cookies and other site data" and click "Clear data."
Mozilla Firefox: Click on the three-line menu in the top-right corner, go to "Options," select "Privacy & Security" from the left sidebar. Under "Cookies and Site Data," click on "Clear Data" and confirm your selection.
Apple Safari: Click on the Safari menu in the top-left corner, select "Preferences," go to the "Privacy" tab. Click on "Manage Website Data" and then "Remove All."
Microsoft Edge: Click on the three-dot menu in the top-right corner, go to "Settings," select "Privacy, search, and services." Under "Clear browsing data," select "Choose what to clear." Check the box next to "Cookies and other site data" and click "Clear now."
Remember that clearing cookies may sign you out of some websites and remove saved preferences, so be prepared to log back in and personalize your settings again.
Make sure you delete social media cookies and credit card numbers too!

Best Practice #6: Block Those Ads Whenever You Can!
Online advertisements can sometimes lead to malicious websites or expose you to potential security risks. Installing an ad blocker enhances your browsing experience by removing annoying advertisements and helps protect your privacy by preventing online tracking and potentially harmful scripts. Here's how to install an ad blocker for Chrome, Firefox, Safari or Edge browsers:
-
Google Chrome: Visit the Chrome Web Store and search for ad blocker extensions like "AdBlock" or "uBlock Origin." Click on "Add to Chrome" and follow the on-screen instructions to install the extension.
-
Mozilla Firefox: Visit the Firefox Add-Ons website and search for ad blocker extensions like "AdBlock Plus" or "uBlock Origin." Click on "Add to Firefox" and follow the on-screen instructions to install the extension.
-
Apple Safari: Ad-blocking extensions are not officially supported in Safari, but you can use a content blocker app like "Better" or "AdGuard" from the macOS App Store.
-
Microsoft Edge: Visit the Microsoft Edge add-ons website and search for ad blocker extensions like "AdBlock" or "Ghostery." Click on "Get" and follow the on-screen instructions to install the extension.
After installing an ad blocker, you may need to customize the settings to suit your preferences and whitelist any websites you trust that rely on non-intrusive advertising for their revenue.
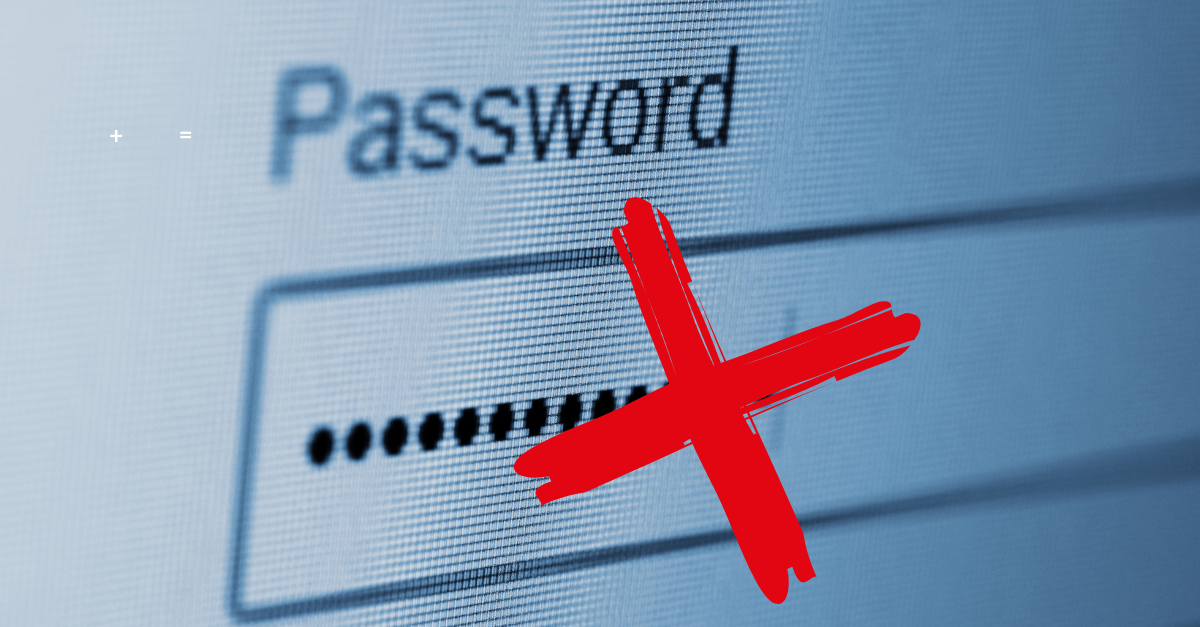
Best Practice #7: Disable The Password-Saving Feature In Your Browser
While it may be convenient to have your browser save your passwords, it is not the most secure practice. Disable the autofill feature for passwords, and be cautious of websites that prompt you to save your login credentials. Instead, use a reliable password manager that securely stores your passwords. Here's how to disable password saving depending on the browser you are working in:
-
Google Chrome: Click on the three-dot menu in the top-right corner, go to "Settings," scroll down, and click "Autofill." Turn off the "Passwords" toggle switch. Consider using a password manager like LastPass or Bitwarden for a more secure solution.
-
Mozilla Firefox: Click on the three-line menu in the top-right corner, go to "Options," and select "Privacy & Security" from the left sidebar. Under "Logins and Passwords," uncheck the box next to "Ask to save logins and passwords."
-
Apple Safari: Click on the Safari menu in the top-left corner, select "Preferences," go to the "Passwords" tab. Uncheck the box next to "Autofill user names and passwords."
-
Microsoft Edge: Click on the three-dot menu in the top-right corner, go to "Settings," then "Profile." Scroll down to "Password" and click on "Manage passwords." Toggle off the switch next to "Offer to save passwords" to disable password saving.
By disabling password saving in your browser, you can ensure that your login credentials are not automatically saved, reducing the risk of unauthorized access to your accounts.
PRO TIP: Using password managers offer secure password storage, generates strong passwords, and even helps autofill login forms across multiple devices, providing a more secure and convenient solution.

Best Practice #8: Why Not Give Privacy-Focused Search Engines a Try?
Most popular search engines collect and track your search data to provide personalized results and advertisements. Consider using privacy-focused search engines that prioritize maintaining user privacy and do not track or store your search history. Examples of such search engines include DuckDuckGo and Startpage. Read on to learn how to set them as your default search engine in some popular browsers:
-
Google Chrome: Visit the search engine's website (e.g., DuckDuckGo.com) and search for "DuckDuckGo Chrome extension." Follow the instructions on the website to install and set it as your default search engine.
-
Mozilla Firefox: Visit the search engine's website and search for "DuckDuckGo/Firefox" or "Startpage/Firefox." Install the respective browser extension and follow the instructions to set it as your default search engine.
-
Apple Safari: Download the respective search engine's app from the macOS App Store, set it as your default search engine in Safari's preferences, and customize other search engine settings within the app.
-
Microsoft Edge:
Open Microsoft Edge on your computer. Click on the three-dot menu in the top-right corner of the browser window. From the drop-down menu, select "Settings." In the Settings menu, scroll down and click on "Privacy, search, and Services." Under the "Services" section, click on "Address bar" to access address bar settings. In the Address bar settings, you will find the option "Search engine used in the address bar." Click on the dropdown menu below it. Select the privacy-focused search engine of your choice from the available options, then close the setting menu.
By using a privacy-focused search engine, you can maintain your anonymity and protect your search history from being tracked or used for targeted advertising.
Best Practice #9: Lock It Up: Fortify Your Passwords and Activate Two-Factor Authentication (2FA)
Creating strong, unique passwords for each of your online accounts is crucial for protecting your personal information. Use a mix of upper and lowercase letters, numbers, and symbols in your passwords. Additionally, enable two-factor authentication (2FA) whenever possible, as it adds an extra layer of security by requiring a second form of verification during login. Follow these guidelines to create strong passwords and enable 2FA:
-
Aim for passwords containing at least eight characters, including letters, numbers, and symbols.
-
Avoid using easily guessable information like your name, birthdate, or common passwords like "123456" or "password."
-
Use a reputable password manager to generate and store unique passwords for each of your accounts.
-
Whenever available, enable two-factor authentication, which typically involves receiving a unique code on your phone or using a biometric form of authentication in addition to your password.
Enabling strong passwords and 2FA significantly enhances your account's security and helps protect against unauthorized access and potential data breaches.
.png?width=1100&height=250&name=MFA%20Data%20Sheet%20CTA%20(1).png)
Best Practice #10: Why Not Give a VPN a Whirl?
A Virtual Private Network (VPN) can encrypt your internet connection and protect your online activities from prying eyes. VPNs help mask your IP address and create a secure tunnel between your device and the websites you visit. Consider using a reputable VPN service, especially when connecting to public Wi-Fi networks or accessing sensitive information. Here's how to get started using a VPN:
-
Research and choose a reputable VPN service that fits your needs and budget.
-
Download and install the VPN software or app on your device.
-
Open the VPN software/app and log in using your account credentials.
-
Select a VPN server location (choose a location closer to you for better performance or a different country to access region-restricted content).
-
Connect to the VPN server to establish a secure connection and encrypt your internet traffic.
A VPN adds an extra layer of security and privacy, making it more challenging for third parties to track your online activities and ensure your data stays secure.
Summary: Go Forth, And Stay Safe!
So there you have it! By following these ten best practices for safe browsing, you'll be well on your way to enhancing your digital privacy and protecting yourself from those pesky online threats.
Just remember to stay on your toes, keep your software up to date, and regularly review and tweak your privacy settings for that optimal security.
Now go forth, surf the web, and enjoy your browsing experience with peace of mind!

About the author


.png?width=500&height=334)

-1.jpeg?width=500&height=317)
